How To Draw A Palm Tree: Step-by-Step Guide For Beginners
Ever wanted to capture the essence of a tropical paradise on paper? Learning to draw a palm tree is not only achievable but also a fantastic way to unlock your artistic potential and evoke feelings of relaxation and warmth.
The iconic silhouette of a palm tree, with its swaying fronds and sturdy trunk, embodies the spirit of beaches, vacations, and warm getaways. It's a subject that's accessible to artists of all levels, offering a delightful challenge and a rewarding outcome. This guide will walk you through the simple steps to create your own perfect palm tree drawing.
To assist you in this creative journey, we've compiled a detailed table providing a comprehensive overview of the necessary materials, techniques, and tips for drawing palm trees. Whether you're a beginner or an experienced artist looking to refine your skills, this resource will serve as an invaluable guide.
| Aspect | Details |
|---|---|
| Materials |
|
| Core Steps |
|
| Tips for Beginners |
|
| Advanced Techniques |
|
| Coloring Techniques |
|
| Common Mistakes to Avoid |
|
| Where to Find More Information | https://www.wikihow.com/Draw-a-Palm-Tree (Example Reference) |
The journey of drawing a palm tree is a blend of simplicity and artistic freedom.
The best approach is to first sketch a large frond on the left side of your canvas. Draw a curved top line, and then add a series of rounded sections along the bottom to form the leaf segments. Following the same pattern, draw the second frond of the palm tree to the right of the first one. This method, repeated, will progressively build your understanding and your trees. With each attempt, you will refine your technique and add your own unique style.
You can choose to begin with a thin, curved line, the foundation upon which your tree will stand, this will form the bit of sand that your palm tree will be poking out of later. The drawing process may take about 20 minutes, but if you decide to create a background, it may require more time. Remember that the more you draw, the better you become. Start with what's manageable and then add to it until the palm tree is exactly how you want it. By using the basic approach we can explore different scenarios such as a small village road with palm trees on the side or maybe a hammock spread between two different palm trees, there's a lot of room for variation and to add your own personal style.
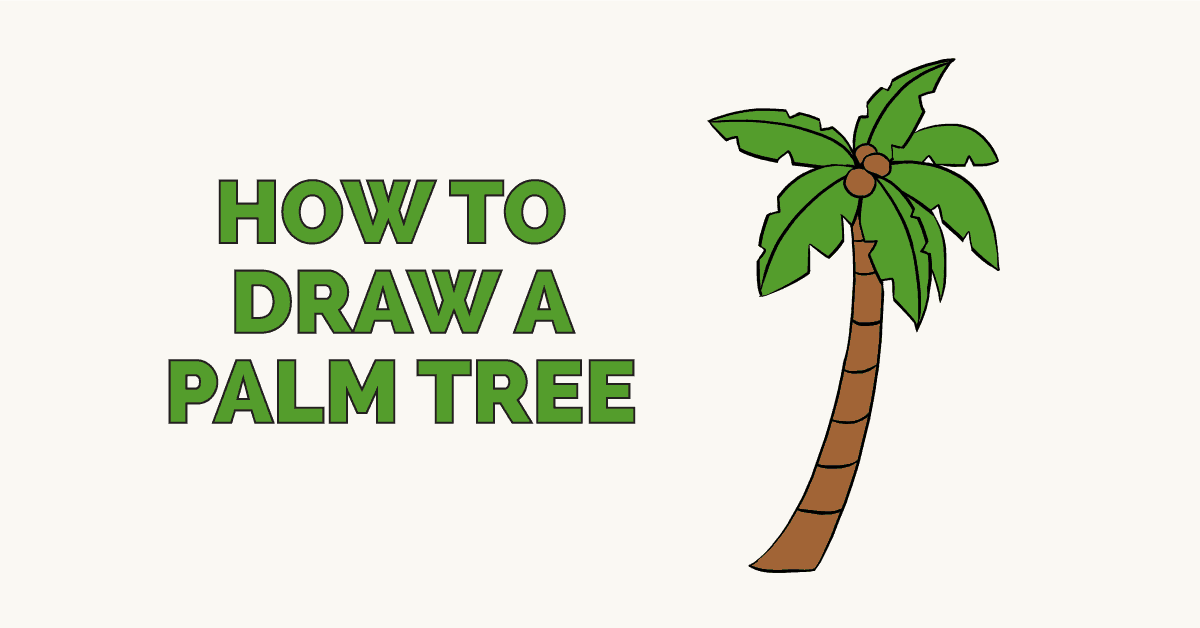
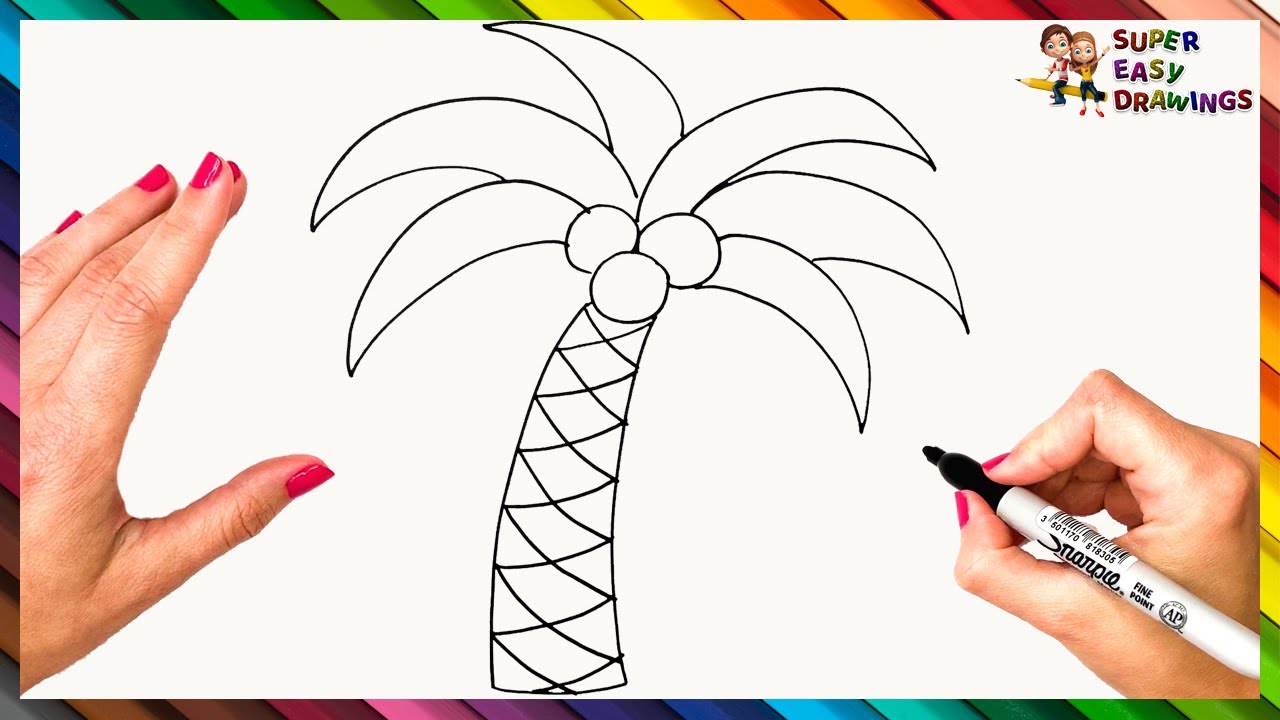
In this basic tutorial, we demonstrate in just 15 steps how easy drawing a palm tree can be. What youll need for your simple palm tree drawing step by step sketch includes: a pencil, eraser, and paper. Start by adding blue to the sky and you have a complete tropical scene! All drawing steps are included here which make it fun and easy to follow! Once you successfully master the steps, its time to bring your palm tree art to life with color! Palm tree trunks are usually a tan or brown color, the fronds are often a bright or yellowish green.
Palm trees symbolize relaxation and vacation vibes, they are easy to draw and fun to make. After you learn how to draw palm trees the possibilities are endless for what you could use them for. Try your best to draw the same shape of the trunk like you did in step 1, for the trunks right side and make sure to taper it, making the trunk wider at the bottom. This makes your palm tree sketch more believable and realistic.
To draw the leaves, draw a line through roughly the center of each leaf to show the rachis (the middle part of the palm leaf). Draw the rest of the palm trees trunk. Use a permanent pen to draw in the shapes of the palm tree trunks. Add some stripes along the trunk to give the palm tree its characteristic look. The curves follow each other at the top, then flare outward at the bottom. This will make the trunk of your tree larger at the bottom.
You can easily draw any type. The method is the samefirst drawing the core line, then adding the leaflets so that the halves form a harmonious whole.
Now lets draw a whole tree! Before we proceed to outlining the basic shape of the palm tree, we should decide on the composition and direction of the. The easiest way to draw all those notches is to start with the overall shape first, and then add the cut outs second. Now that you know how to draw a palm tree you can draw many different kinds of sceneries.

