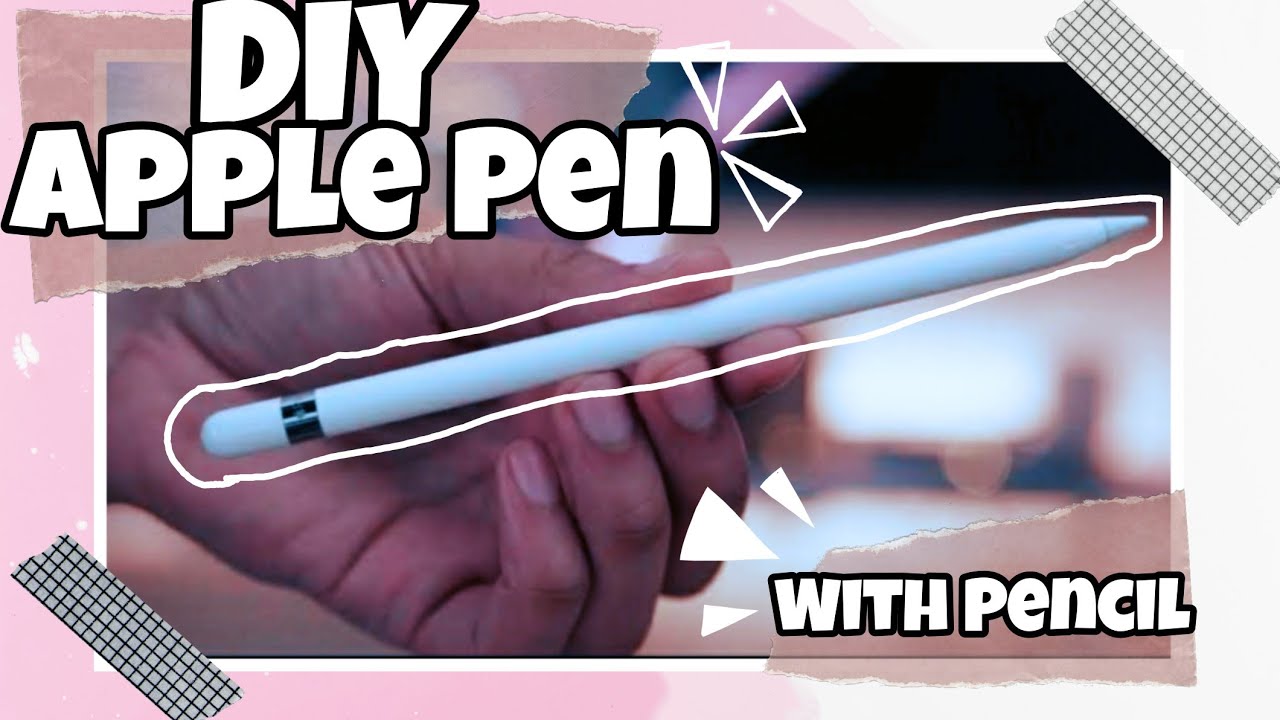
DIY Apple Pen: Easy Guide To Making Your Own Stylus
Can you truly craft a functional stylus that rivals the Apple Pencil, all from the comfort of your home? The answer is yes, with a few simple household items and a touch of ingenuity, you can create a DIY stylus that brings the digital world to your fingertips without breaking the bank.
The allure of the Apple Pencil is undeniable. Its seamless integration with the iPad, coupled with advanced features like pressure sensitivity, tilt detection, and palm rejection, elevates the digital drawing and note-taking experience to an art form. However, the price tag can be a barrier for many. This is where the world of DIY styluses steps in, offering a budget-friendly alternative for those who wish to explore the possibilities of iPad interaction without the premium cost.
Before diving into the world of DIY styluses, it's worth understanding the genuine article. Setting up the Apple Pencil is typically a straightforward process, ensuring a smooth connection with your iPad. Ensure your iPad is powered on and running the latest version of iOS for optimal performance. Knowing how to identify your specific Apple Pencil model and which iPad models it is compatible with is the first step. The advanced features, such as squeeze gestures, barrel roll, and haptic feedback, significantly enhance the experience, making tasks like annotating, sketching, and taking notes feel incredibly intuitive.
But what happens if your official Apple Pencil goes missing? Whether it's lost on the go or at your workspace, a DIY alternative becomes a practical solution. Beyond the convenience of a readily available tool, crafting your own stylus offers a fun and engaging project that brings a sense of accomplishment.
| Feature | Apple Pencil | DIY Stylus |
|---|---|---|
| Cost | Expensive | Very Affordable |
| Functionality | Advanced, Pressure Sensitive, Tilt Detection, Palm Rejection | Basic, Capacitive Touch |
| Compatibility | Apple Devices only | All Devices |
| Materials | Specialized | Common household items |
| Durability | Moderate | Variable |
The journey of creating your own stylus begins with a simple understanding of the core principle: capacitive touch. Most modern touchscreens, including those on iPads, rely on this technology. They detect touch through changes in electrical capacitance. A DIY stylus, therefore, needs to mimic the effect of a human finger, which conducts a small amount of electricity, interacting with the screen.
Let's delve into the materials and methods you can employ. One of the most common approaches involves using a conductive foam. This material, often found in the packaging of electronic devices, can be fashioned into a tip for your stylus. Pair it with a metal pen or a thin metal tube, which will serve as the body and provide the necessary electrical connection.
Another route utilizes readily available items: a metal ballpoint pen, cotton buds, eraser refills, and aluminum foil. The aluminum foil is the key to the conductive tip, allowing it to interact with the screen. You can create a basic stylus by wrapping the tip of the pen with a small piece of foil, ensuring it makes contact with the touchscreen.
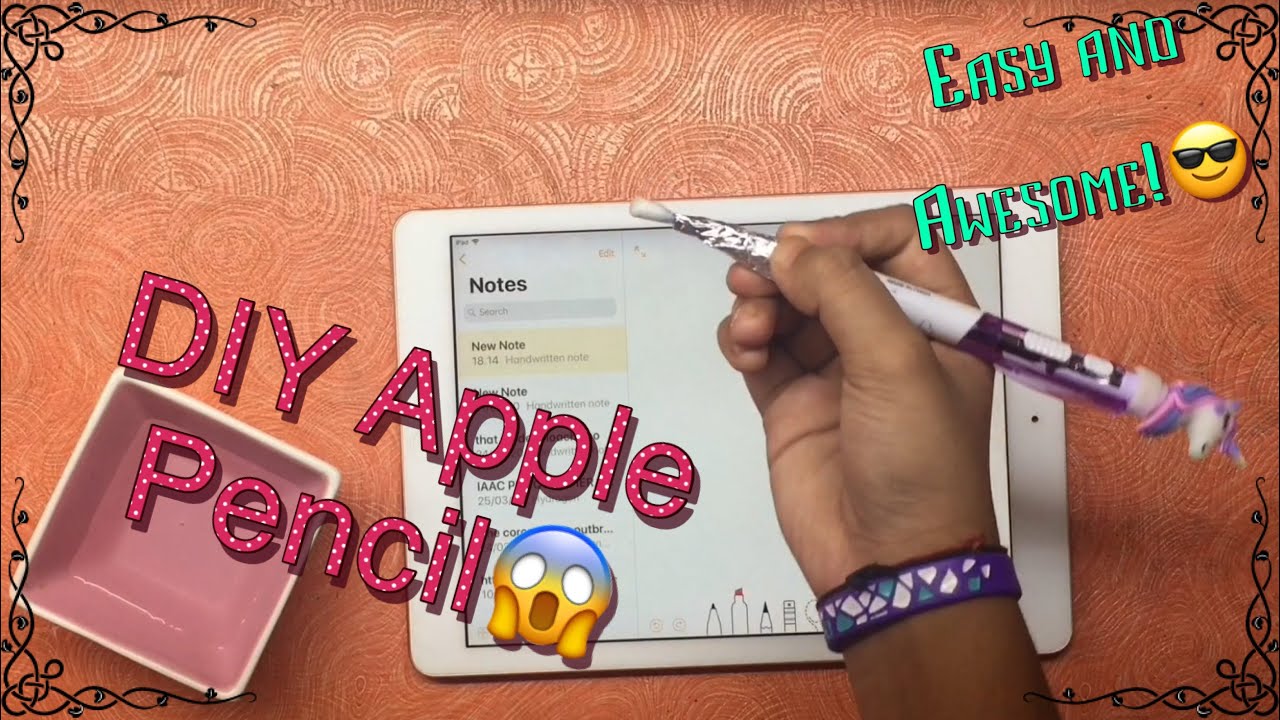
There is an interesting TikTok video circulating, with the handle @keyannsmpx, showcases how to make a DIY Apple pen using simple household items like tape, wet tissue, and a cotton bud. This method is particularly appealing due to its use of everyday items, making it accessible for anyone to try.
The beauty of these projects is their simplicity. You won't need specialist equipment. The process is generally quick and takes less than five minutes. Another technique is to use a cotton swab. You can wet the tip of a cotton swab to allow the stylus to work on any device, and if it stops working, you can simply wet it again. Another quick trick is to create a stylus pen using pen foil and a pencil tip.
Heres a quick breakdown of the materials needed for a simple DIY stylus:
- A metal pen or a thin metal tube.
- Conductive foam.
- Aluminum foil.
- Tape.
- Cotton buds.
- A wet tissue.
- A cotton bud
The Apple Pencil works differently from other styluses. It requires special hardware built into the iPad itself. Making a stylus for your iPad is simple, quick, and costs about a fraction of the price of the Apple Pencil.
Many have explored creating a DIY Apple pen using materials that are available in a home, this includes a metal pen, a cotton bud, eraser refills and aluminum foil. To make a DIY stylus you can make a homemade stylus pen compatible with all iPad and tablet Apple pencil models.
For those who want to keep their Apple Pencil safe and handy, consider making a pen holder. This is an easy DIY project. Simply use some elastic with ribbon, fabric, or a zipper.
Remember, it's crucial to allow your DIY stylus to dry completely after assembly.If, during use, your DIY stylus stops working, a common issue is that the tip might not be sufficiently conductive. If it does, you may need to re-wet the tip or re-establish contact. The functionality of your homemade stylus will work with any device.
While you can make a functional stylus that mimics some of the features of the Apple Pencil, be aware that it won't offer the same level of precision or the sophisticated features provided by Apple's technology. However, it's a fantastic way to explore the digital world, create a budget-friendly alternative, and get creative. If you have lost your Apple Pencil or if it broke, a DIY stylus is a great option.
For a detailed crafting chain, consider this: crafting an Apple pen could involve an Apple, a dustbin, a flowerpot, and ink. Crafting these extras first could be a smart approach.
These DIY styluses, while not perfect replacements, provide a practical and cost-effective way to interact with your iPad. They are perfect for taking notes, drawing, and general navigation. For the cost of a few basic materials, you can create a tool that broadens your creative and practical options on your iPad. So, gather your materials, follow the steps, and enjoy the experience of creating your own digital companion.
Before you start make sure to check the compatibility of your device and if it's ready to work together. Remember that an apple pencil is designed to work exclusively with apple devices and cannot connect to android devices.
DIY Apple Pencil Alternatives: A Comparison Table
| DIY Method | Materials Needed | Pros | Cons |
|---|---|---|---|
| Conductive Foam & Metal Tube/Pen | Conductive foam, metal pen/tube, tape | Easy to assemble, Relatively durable | May require specific foam, Less precise |
| Aluminum Foil, Pen | Metal ballpoint pen, cotton buds, eraser refill, aluminum foil | Uses common household items, Quick to make | Less precise, Durability depends on the foil |
| Tape, Wet Tissue & Cotton Bud | Tape, Wet Tissue, Cotton Bud | Easy to make, Requires few items | Might not be durable, Less functional |
For those who have a passion for creative projects, there are numerous tutorials and guides available online. If you have any questions or need more guidance, feel free to ask in the comments section of the tutorials. Also, you may wish to explore a range of planners, notebooks, and printables. Remember, learning how to identify your Apple Pencil and which iPad models it works with is an important first step.
Disclaimer: This site contains user-submitted content, comments, and opinions and is for informational purposes only. Apple may provide or recommend responses as a possible solution based on the information provided. Every potential issue may involve several factors not detailed in the conversations captured in an electronic forum, and Apple can therefore provide no guarantee as to the effectiveness of any suggested solution.
Here's how you can create a DIY Apple pen that mimics the functionality of the real deal. If you've ever lost your apple pencil or it broke, you can use these simple steps to create your own. If you want more tutorials, simply let me know!
Key Considerations for DIY Stylus Creation
- Conductivity: Ensure that the tip of your stylus provides enough electrical conductivity to be detected by the iPad's touchscreen. The materials you use will directly impact this.
- Tip Size and Precision: The size of the tip will affect the precision of your stylus. Finer tips generally lead to greater accuracy. The tip shape also matters.
- Durability: Consider the durability of your chosen materials. You want a stylus that can withstand regular use without quickly wearing down.
- Responsiveness: Test your stylus on a variety of apps to ensure it responds well.
Troubleshooting Tips
- Check for Conductivity: If your stylus isn't working, check to make sure the conductive element is making good contact with the screen.
- Moisten the Tip: If using a wet tip method, ensure it's not too dry or too wet. A slightly damp tip is best.
- Clean the Screen: A clean screen is essential for accurate touch recognition.
Making a DIY stylus offers a practical, cost-effective, and creative outlet for those who want to explore the digital world of the iPad. And if you are looking for any more tutorials, simply ask! If you have enjoyed this article and tutorial make sure you like and subscribe.


