Passport Photo Fails? Avoid Rejection & Get It Right!
Why do passport photos consistently manage to capture our least flattering angles? The truth is, it's not necessarily you; it's the conditions under which these photos are taken that often lead to less-than-ideal results, potentially even jeopardizing your travel plans.
The quest for the perfect passport photo is a universal one. We all want to present our best selves, or at the very least, avoid looking like a disgruntled mugshot destined to be scrutinized by border agents around the globe. But the reality is often a far cry from that ideal. The fluorescent lights, the sterile backgrounds, and the pressure to maintain a "neutral expression" conspire to create images that, more often than not, leave us wondering, "Why do passport photos look so bad?" The answer, as it turns out, is multifaceted.
Before delving into the common pitfalls, let's dispel a common misconception: It's not necessarily one's appearance that spoils a passport photo, it's the very conditions this photo is taken under. Unfavorable conditions can lead to issues that may lead to a rejected photograph.
Here's a breakdown of the issues that can make a passport photo less than desirable, with tips on how to navigate them for better results:
Common Reasons for Passport Photo Rejection
When applying for any identification documents, such as a passport, the requirement to provide a photo of yourself is standard. However, not all photos are created equal, and even minor mistakes can lead to delays or rejections, ultimately disrupting your travel plans.
Lighting and Composition Errors:
One of the most frequent culprits in the realm of bad passport photos is lighting and composition errors. Improper lighting can cast unflattering shadows or wash out facial features, leaving you looking tired or even ghostly. The photo booths typically used for passport pictures often have the poorest lighting. The result? Images that lack clarity and fail to capture the nuances of your features.
Technical Errors
Technical errors are a common reason your photo may be rejected. To ensure your passport photo is accepted, it must meet specific size and quality requirements. Submitting photos that fail to meet these technical specifications can lead to rejection, causing delays and the need for a retake. For instance, digital photos must typically be at least 750 pixels tall by 600 pixels wide, and the file size should be sufficient to maintain picture quality.
Pose and Expression
The strict guidelines regarding expressions are another significant factor. Smiling or frowning is strictly prohibited in most passport photo regulations, which forces a neutral expression that can easily lead to a lifeless image. Beyond expressions, posture plays a crucial role. A stiff or unnatural pose can make you look awkward or uncomfortable, further contributing to an image that's far from ideal.
Background Issues
The background should be a plain, light-colored background, usually white or off-white, without any patterns or objects. The background must also be clean. Any imperfection or distraction can cause rejection.
Photo Quality
The photo must be of a high quality, with appropriate brightness, clarity, and focus. Blurry or poorly exposed photos are usually rejected. If the photo is a print, it must be printed on high-quality photo paper.
Appearance Issues
If you're wearing glasses, make sure that the frames do not cover your eyes or cause a glare. Hats or head coverings are usually not allowed unless worn for religious or medical reasons. If you are wearing any head covering, your face from the bottom of your chin to the top of your forehead must be completely visible.
How to Take a Better Passport Photo
So, what can you do? The good news is that bad passport photos aren't the end of the world. The following tips & tricks will help you avoid a bad passport photo:
1. Lighting is Key:
Lighting is one of the most important aspects of a passport photo, and it can significantly improve the way you look in the picture. Opt for natural light whenever possible. Position yourself near a window, ensuring the light is facing you. Avoid direct sunlight, which can create harsh shadows. If you must use artificial light, use a soft light source and make sure the light is well-distributed to avoid shadows.
2. Background Matters:
The background should be plain, usually white or off-white, and free of any patterns or distracting elements. A solid wall or a large sheet of white paper can serve as a suitable backdrop. For digital photos, many online tools allow you to replace the background, but ensure it meets the official requirements.
3. Posture and Expression:
Maintain a straight posture, with your shoulders back and your face directly facing the camera. While a neutral expression is mandatory, try to relax your face. Avoid tensing your facial muscles, which can lead to an unnatural appearance. In the end, the goal is to look natural and comfortable, even with the expression restrictions.
4. Professional Option:
If you're concerned, consider having your photo taken professionally. While it might cost a bit more, a professional photographer will be familiar with the specific requirements and can ensure your photo meets all the necessary criteria. They also have the necessary lighting and equipment to make the best possible shot.
5. At-Home Options:
You can save money and achieve better results by taking your passport photos at home. Most smartphones and tablets are suitable for this. Just ensure the photo meets the specifications. There are several guides on how to take passport photos at home.
6. Double-Check Requirements:
Before submitting your photo, carefully review the specific requirements of the passport issuing agency. These guidelines are available on the official government websites. Ensuring that your photo meets all of these requirements is crucial to avoid rejection.
7. Resubmit if Needed:
If your photo is rejected, dont be discouraged. It's a common occurrence, and its easily fixable. Retake your photo, paying close attention to the specific feedback you received. This time, you should ensure it meets the requirements.
Other important facts you should know.
When dealing with passport photos, it's essential to adhere to regulations. You cannot put anything on your passport. Do not modify the photo or information, and avoid writing in your passport to ensure the document remains valid.
If youre unhappy with your photo, you have options. Taking a new photo and applying for passport renewal are viable solutions. This allows you to replace an undesirable image with one you're more pleased with.
Moreover, if you have a water-damaged passport, this can cause issues. While it may be acceptable in some countries, border agents may make a fuss. A replacement is often the best course of action in these situations.
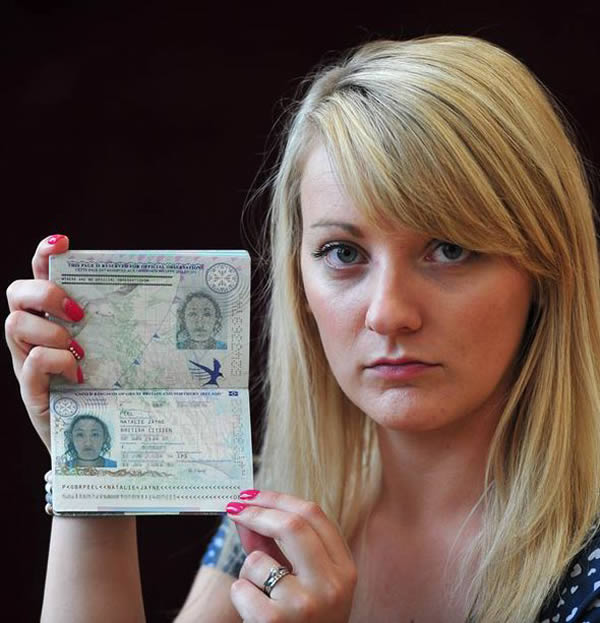
Many people wonder why their passport photos look so bad, and the answers involve surroundings, lighting, and more. Don't let this happen. Take a new passport photo following the tips above, and say goodbye to an ugly passport pic for good.
Conclusion
Mastering the art of the passport photo might seem like a minor accomplishment, but it can save you from unnecessary stress and travel disruptions. By understanding the common pitfalls and applying these simple tips, you can increase your chances of getting a photo you can live with and, more importantly, ensure that your passport application is approved without delay.
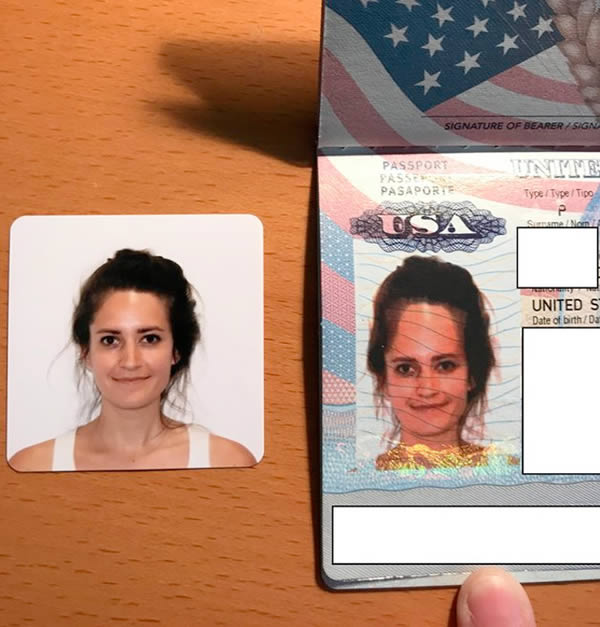
![60+ Passport Photography Terms [Cheat Sheet]](https://photoaid.com/blog/wp-content/uploads/2022/12/passport-photo-distortion.jpg)
